The NitroX User Interface
When using NitroX, you’ll notice some subtle differences to the standard Test Builder user interface. When authoring a Test Case with Test Builder, NitroX will automatically detect custom Lightning Web Components or Screen Flow components that have matched the mapping criteria when selecting Add to Test Case for an element on the page. You’ll be able to identify if NitroX is being used to map a component by seeing the PageStructure section within Test Builder, which shows the structure of the custom component and in the top right-hand corner, the locator strategy with, say, “NitroX Component”.
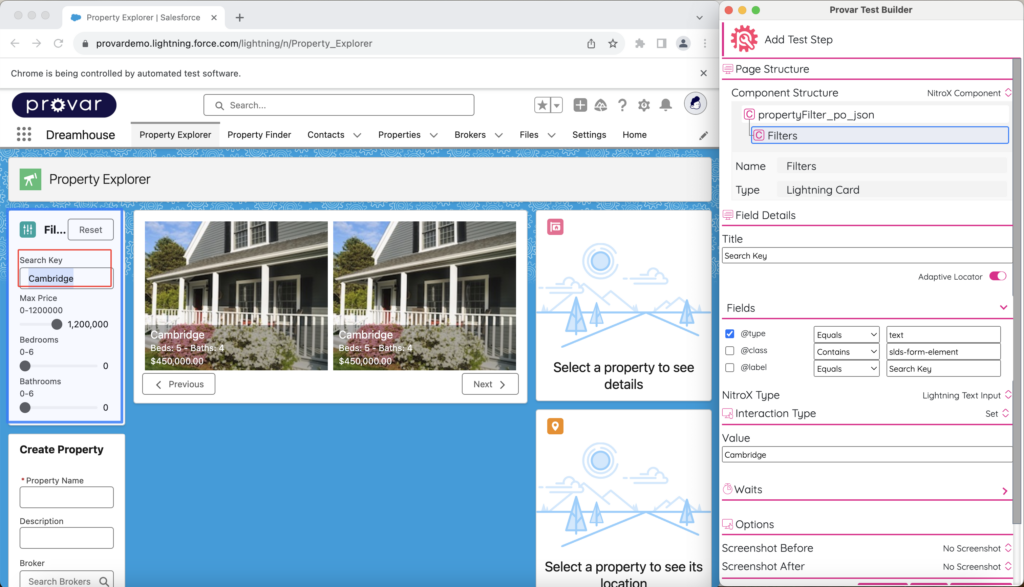
Above: Snapshot of Test Builder interface.
Page Structure
The Page Structure section displays the component hierarchy used to locate an element on a web page.

Above: Snapshot of Page Structure.
On selecting each level in the hierarchy, the name and type of the component are displayed and highlighted in blue on the web page.
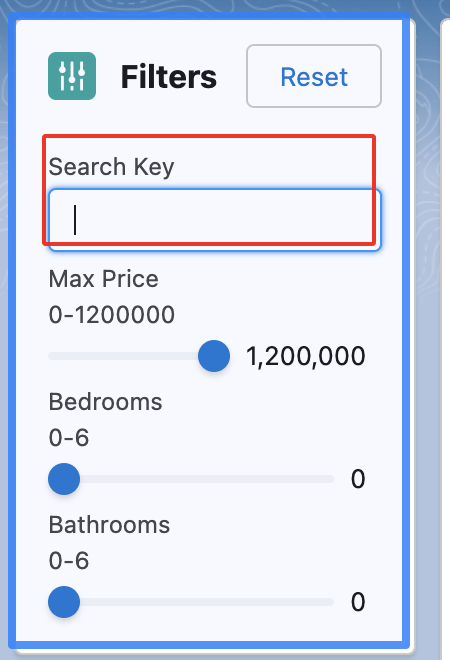
Above: Snapshot of Filters.
Field Details
The field details section displays the information about the element selected:
- Field Title: the name given to mapping the element; this will be pre-populated if NitroX can identify an appropriate label.
- Adaptive Locator: NitroX Adaptive Locators are Provar’s cutting-edge locator solutions that capture numerous web element attributes and then harness this data to pinpoint and interact with elements on a web page automatically. Toggling off Adaptive Locators provides you with the ability to define the locator using ProvarX explicitly.
- Fields: the element attributes or properties that can be used to locate the element.
- NitroX Type: the type of component that maps to the element selected on the web page.

Above: Snapshot of Field Details.
Depending on the type of element selected, you may also be presented with a Field Detail section, which has a sub-section called Fields that gives you the ability to inject parameterized values for specific element attributes or properties when locating the element to make the locator more reusable and reduce duplication.
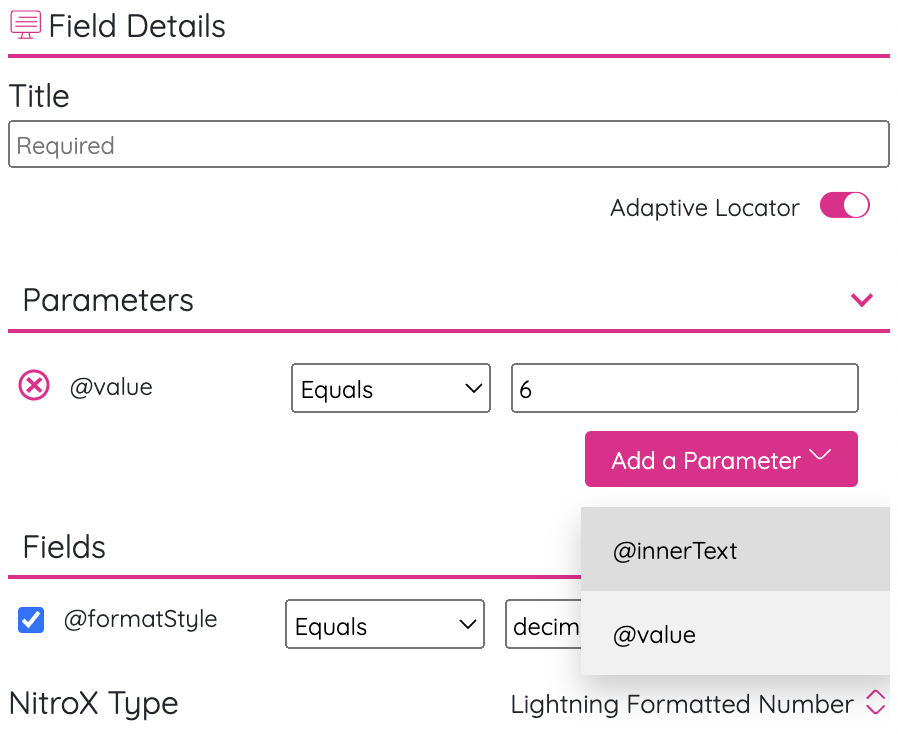
Above: Snapshot of Fields.
This allows you to add a parameter, remove a parameter, set the appropriate operator, and set a value or Provar Expression to locate the element.

Above: Snapshot of Parameters.
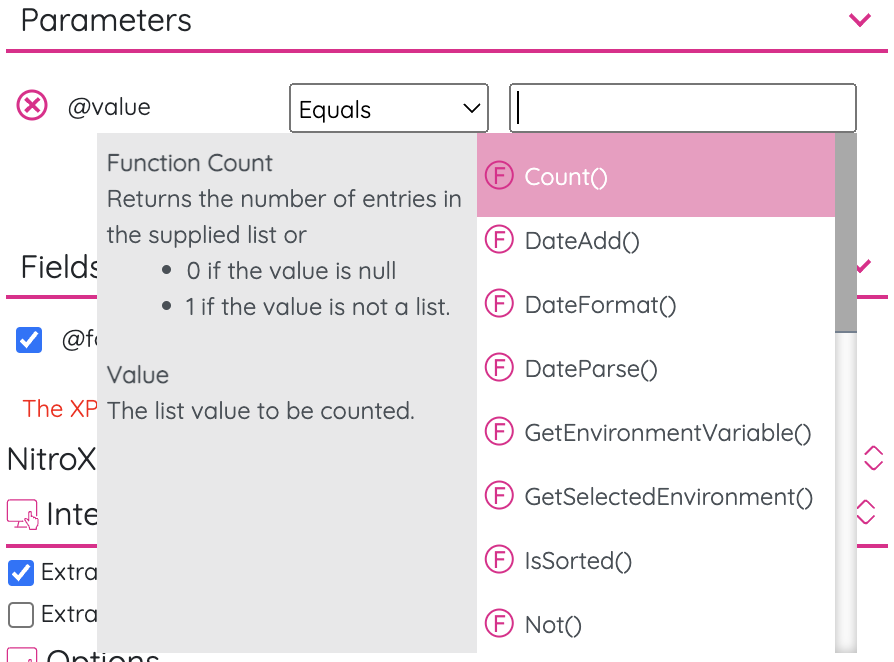
Above: Snapshot of Parameters with Provar Expressions.
Interaction Type
The Interaction section displays the interactions available for the type of element selected. The list of available interactions will only display interactions available for the current state of the selected element.
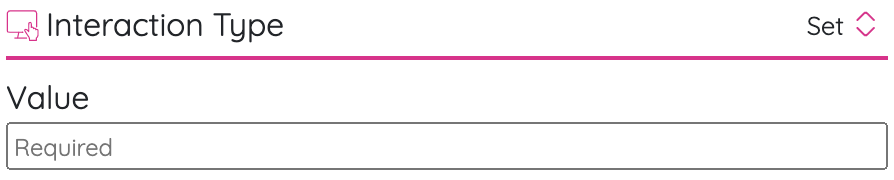
Above: Snapshot of Interaction Type.
Some NitroX Components may have a specific interaction and user interface to provide a similar user experience for the selected element. For example, the Lightning Slider would appear with a slider:
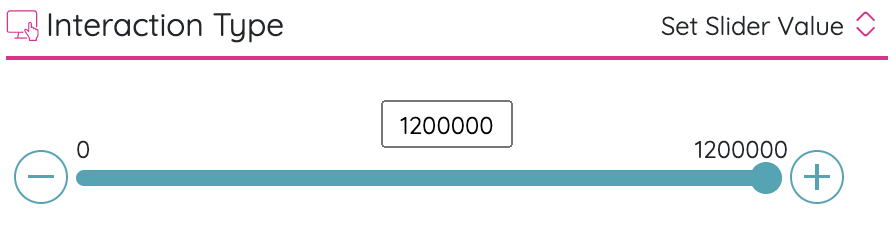
Above: Snapshot of Interaction Type.
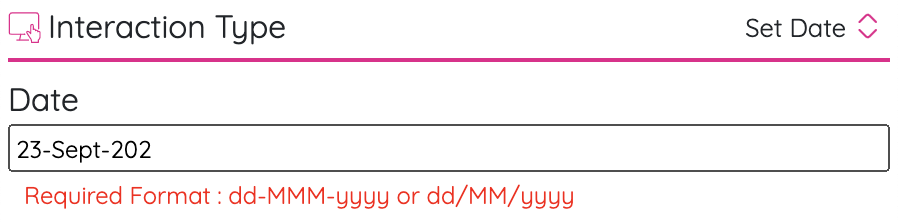
or provide additional validation for particular fields like dates. Nitrox can extract the relevant information to validate the format of the value provided and mirror the experience of the web page.
To get a deeper understanding of NitroX, we recommend the following UP courses: